
How to Remove a Matcha Filter from a Photo
Last updated: August 2026 · 4 min read
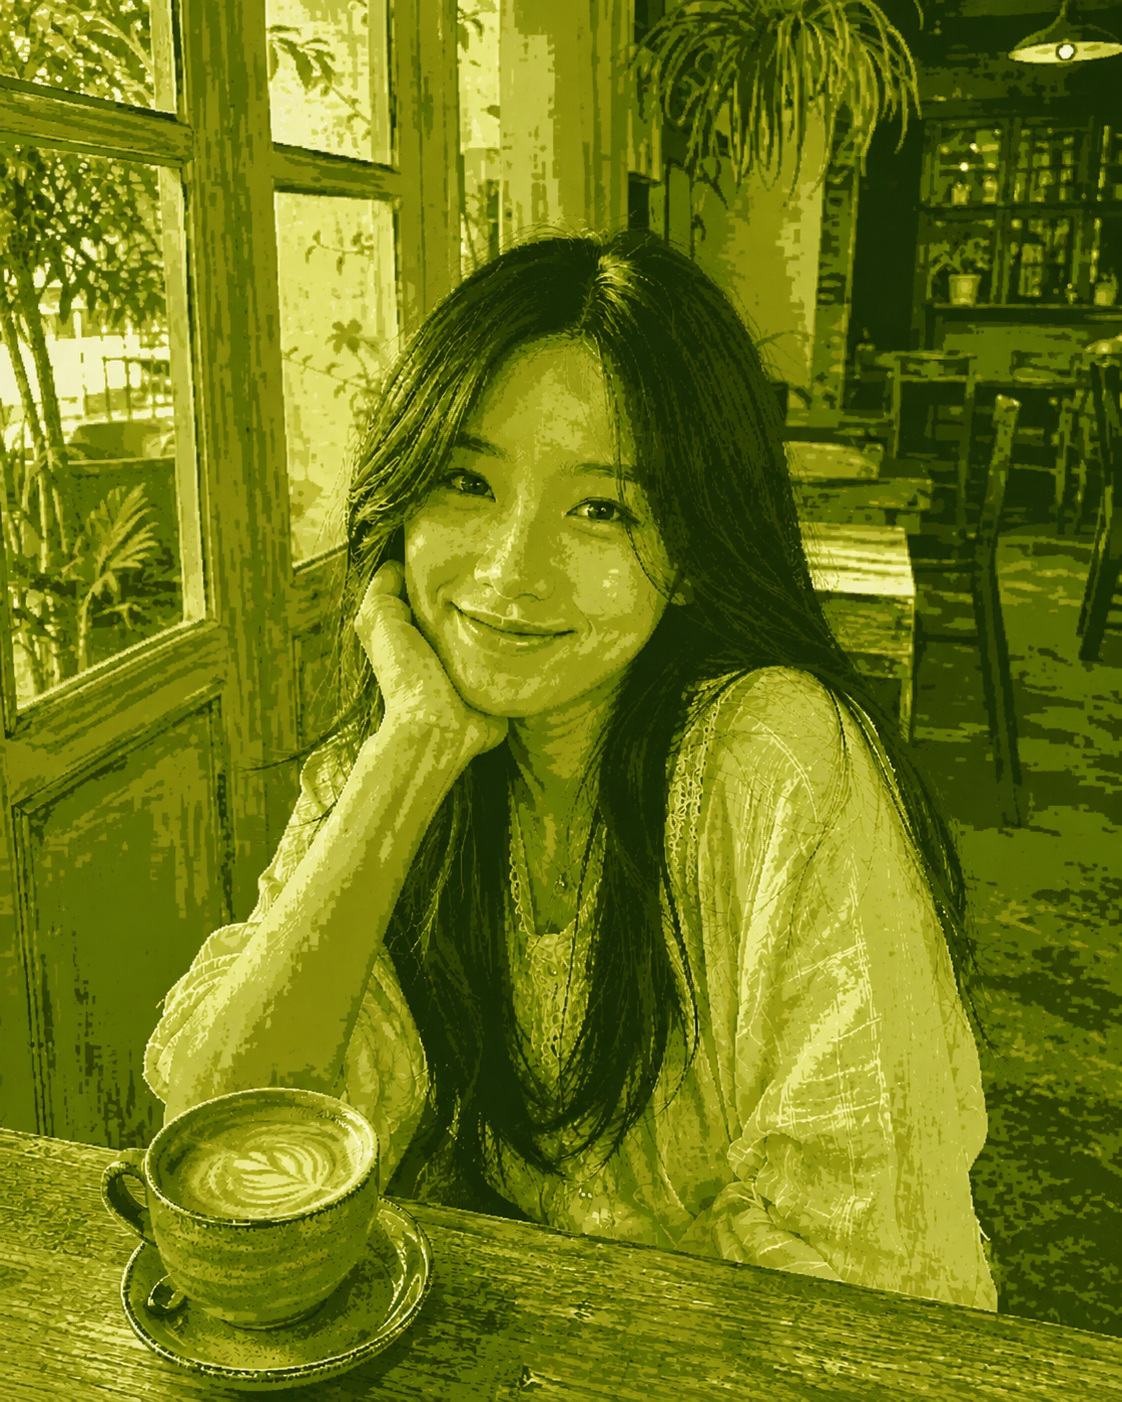
Matcha filters have become popular on social media for their soft, green-tinted aesthetic. While they can look stylish, they often make skin tones appear greenish and give photos an unnatural overall cast. If you want to remove or reduce a matcha filter from a photo, this guide shows you how.
What people mean by a matcha filter
A matcha filter is a photo editing style that shifts the color palette of an image toward green, inspired by the color of matcha tea. It typically reduces warmth, adds a green overlay, and desaturates reds and oranges. The result is a cool, green-tinted look that is popular on platforms like Instagram and Xiaohongshu.
The term "matcha filter" is not a single standardized effect — different apps implement it differently. Some apply a light green wash; others produce a heavy, saturated green shift. The common factor is that the image ends up with a strong green color cast.
Why matcha filters change skin tones and highlights
Matcha filters work by shifting the color balance of the entire image toward green. This affects all colors, including skin tones, which are normally in the red-orange range. When a green filter is applied, skin tones lose their warmth and take on a greenish appearance.
Highlights and white areas are also affected. Pure white becomes greenish, and light-colored clothing, walls, and backgrounds all pick up the green tint. The overall effect can look appealing in small doses but often appears unnatural when the filter is applied heavily.
How to reduce the green effect
To reduce a matcha filter, you need to counteract the green color shift. Unfilter does this by analyzing each pixel for green dominance and reducing it while preserving the other color channels. The process runs entirely in your browser.
Upload your photo, and the tool will automatically apply an initial correction. You can then adjust the strength and warmth to get the result you want.
Recommended adjustment order: Strength first, Warmth second
The most effective approach is to adjust the controls in this order:
- Set Filter Removal Strength first. Start around 50–60% and increase until the green cast is reduced. This is the main control that determines how much green is removed from the image.
- Then adjust Natural Warmth. After removing the green, the image may look cold or neutral. Use the warmth slider to add a subtle warm tone back. A value between 0 and +10 works for most matcha-filtered photos.
- Check the Before/After comparison. Drag the slider to compare the original and processed versions. Make sure skin tones look natural and white areas are no longer greenish.
Avoid adjusting both sliders at the same time. Set the strength first, check the result, then fine-tune with warmth. This makes it easier to see the effect of each adjustment.
Privacy and file format information
Unfilter processes your photo entirely in your browser. The image is not uploaded to a server, stored online, or accessed by any third party. All processing happens using the Canvas API and ImageData on your device.
The tool supports JPG, PNG, and WEBP files up to 10MB. It does not support video, RAW, or animated image formats. The processed result is downloaded as a PNG file.
No account or sign-up is required. The tool is free to use, and no personal information is collected.